Checkout the Zoop website
I started Zoop, a friendly all-in-one hosting tool. It allows you to host static websites with efficient caching. All that from the command line.
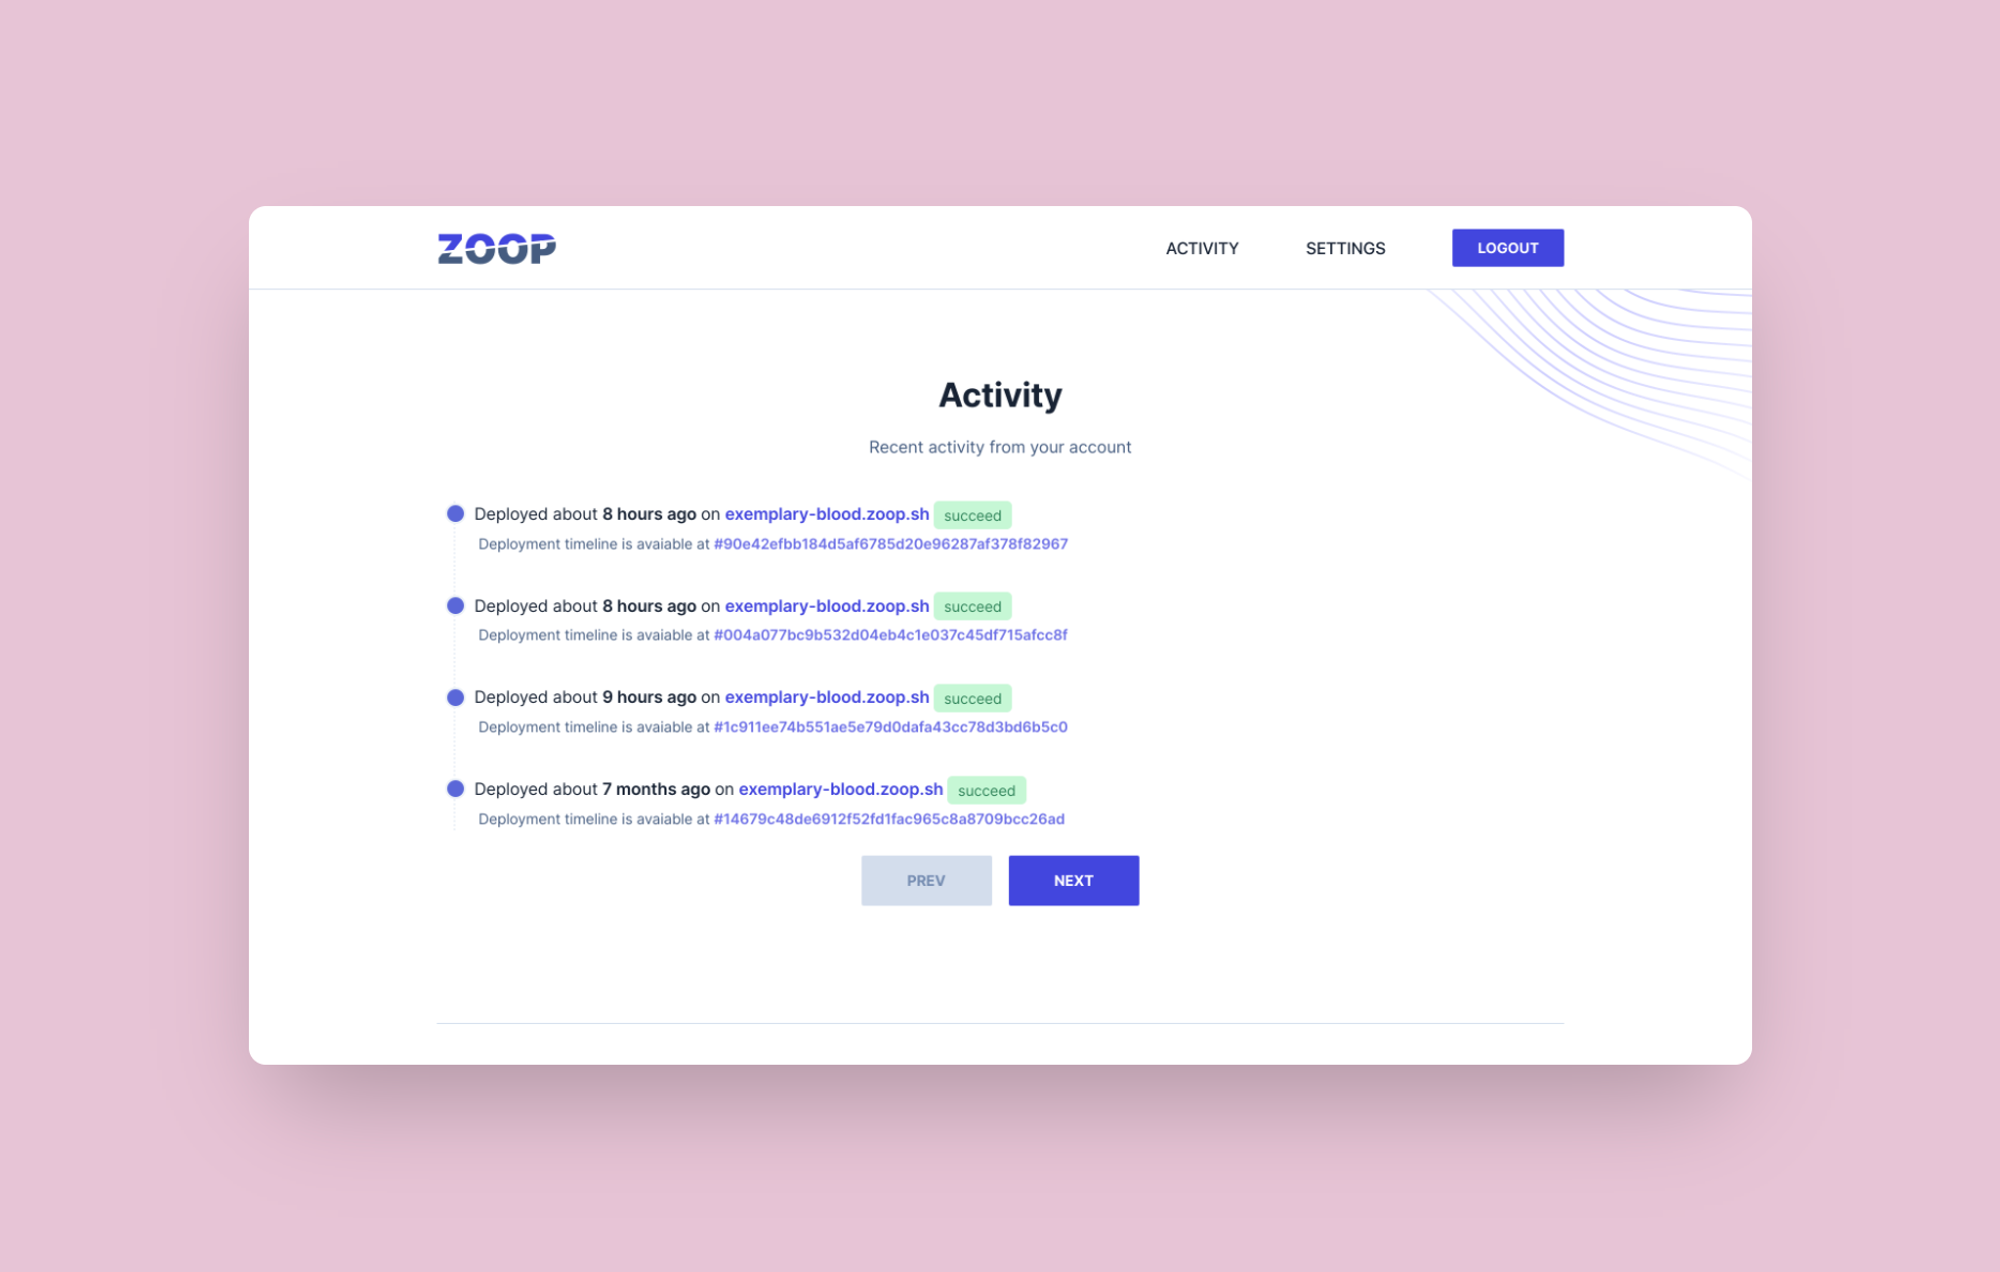
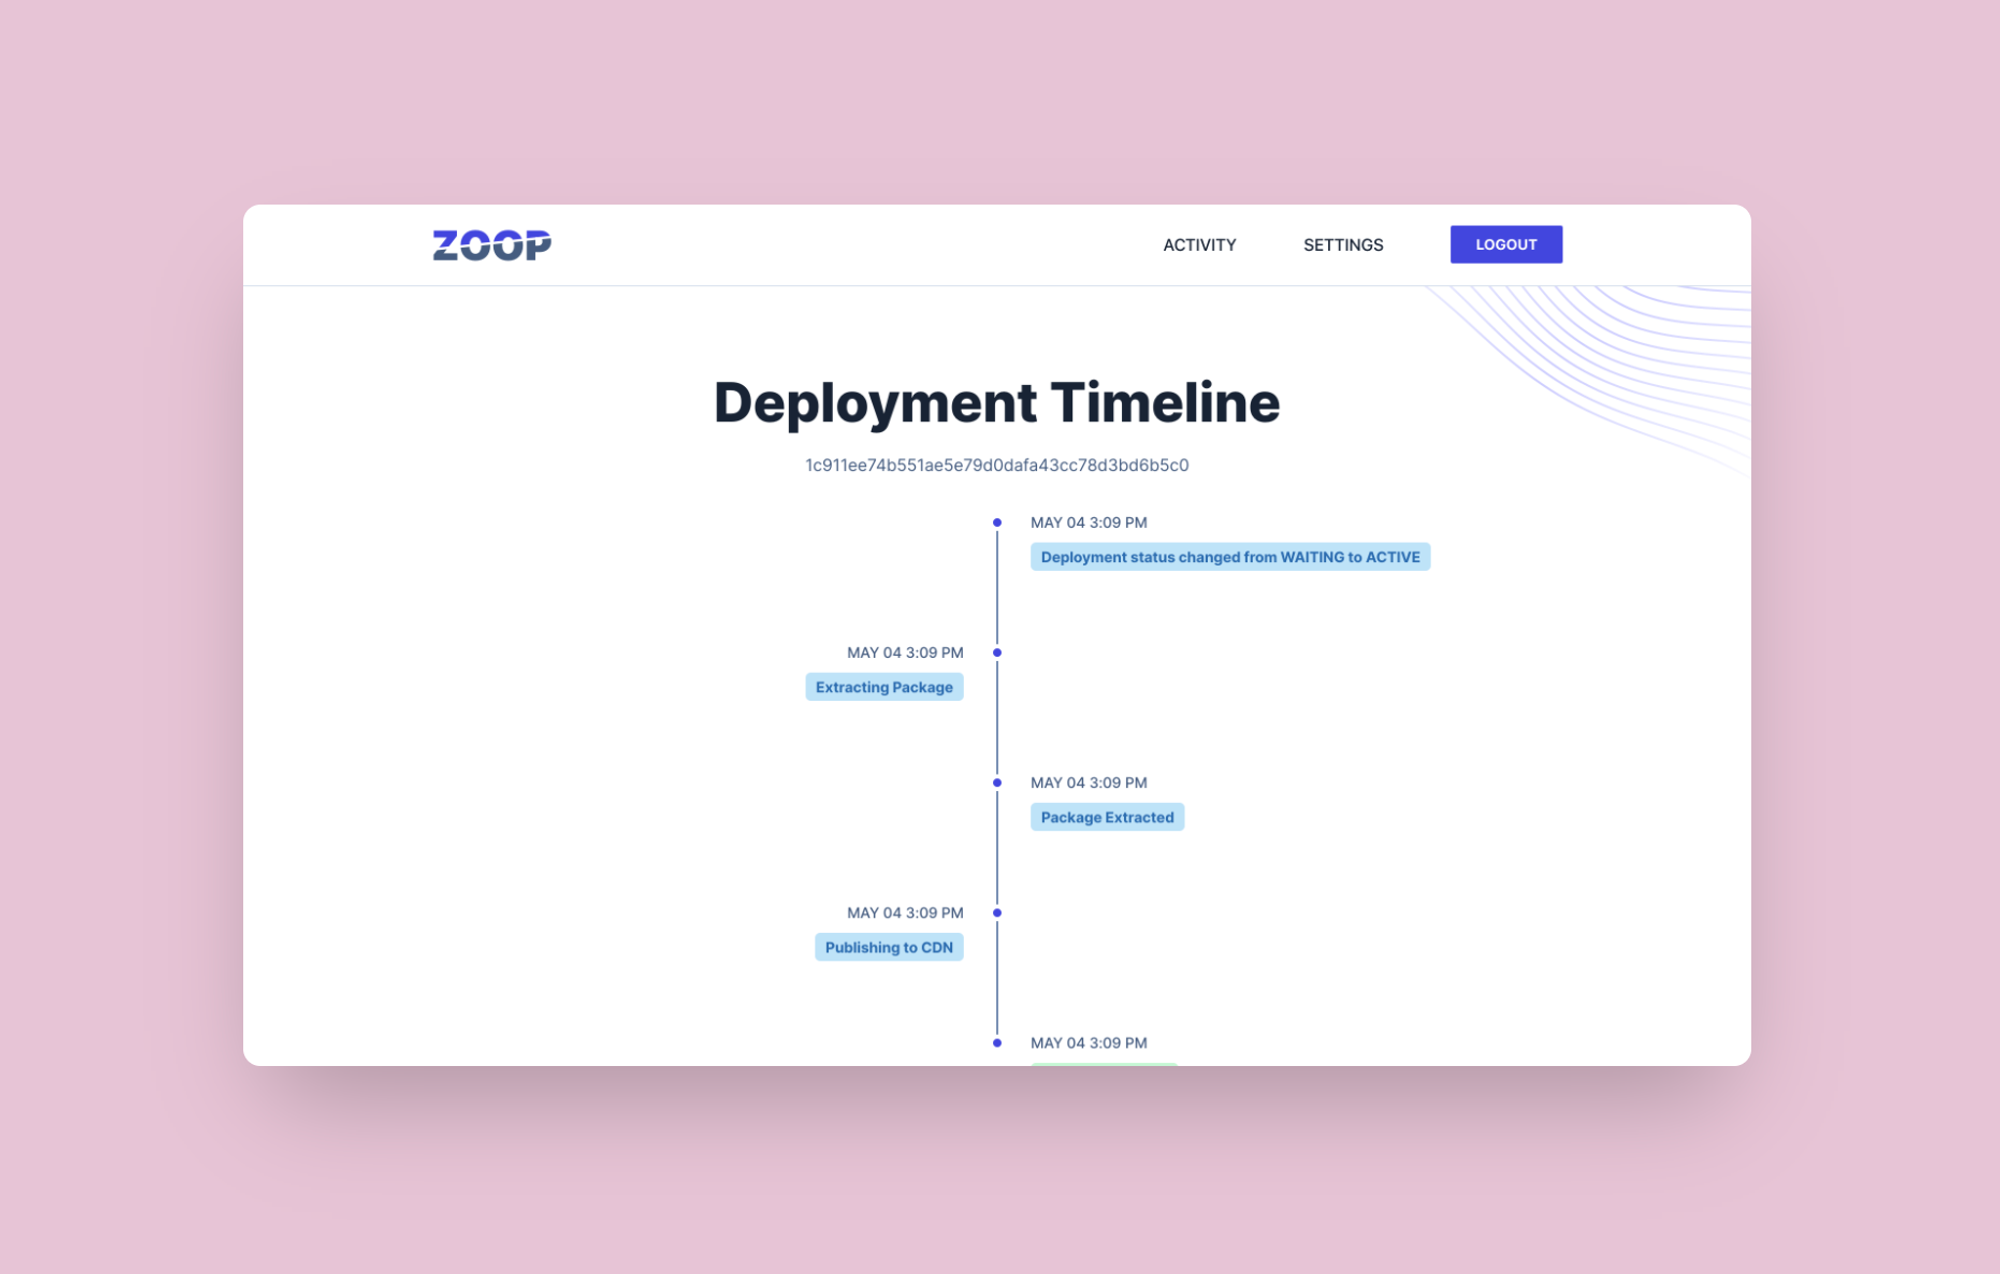
To kick things off I created a landing page, as well as the brand-new mobile-friendly dashboard.
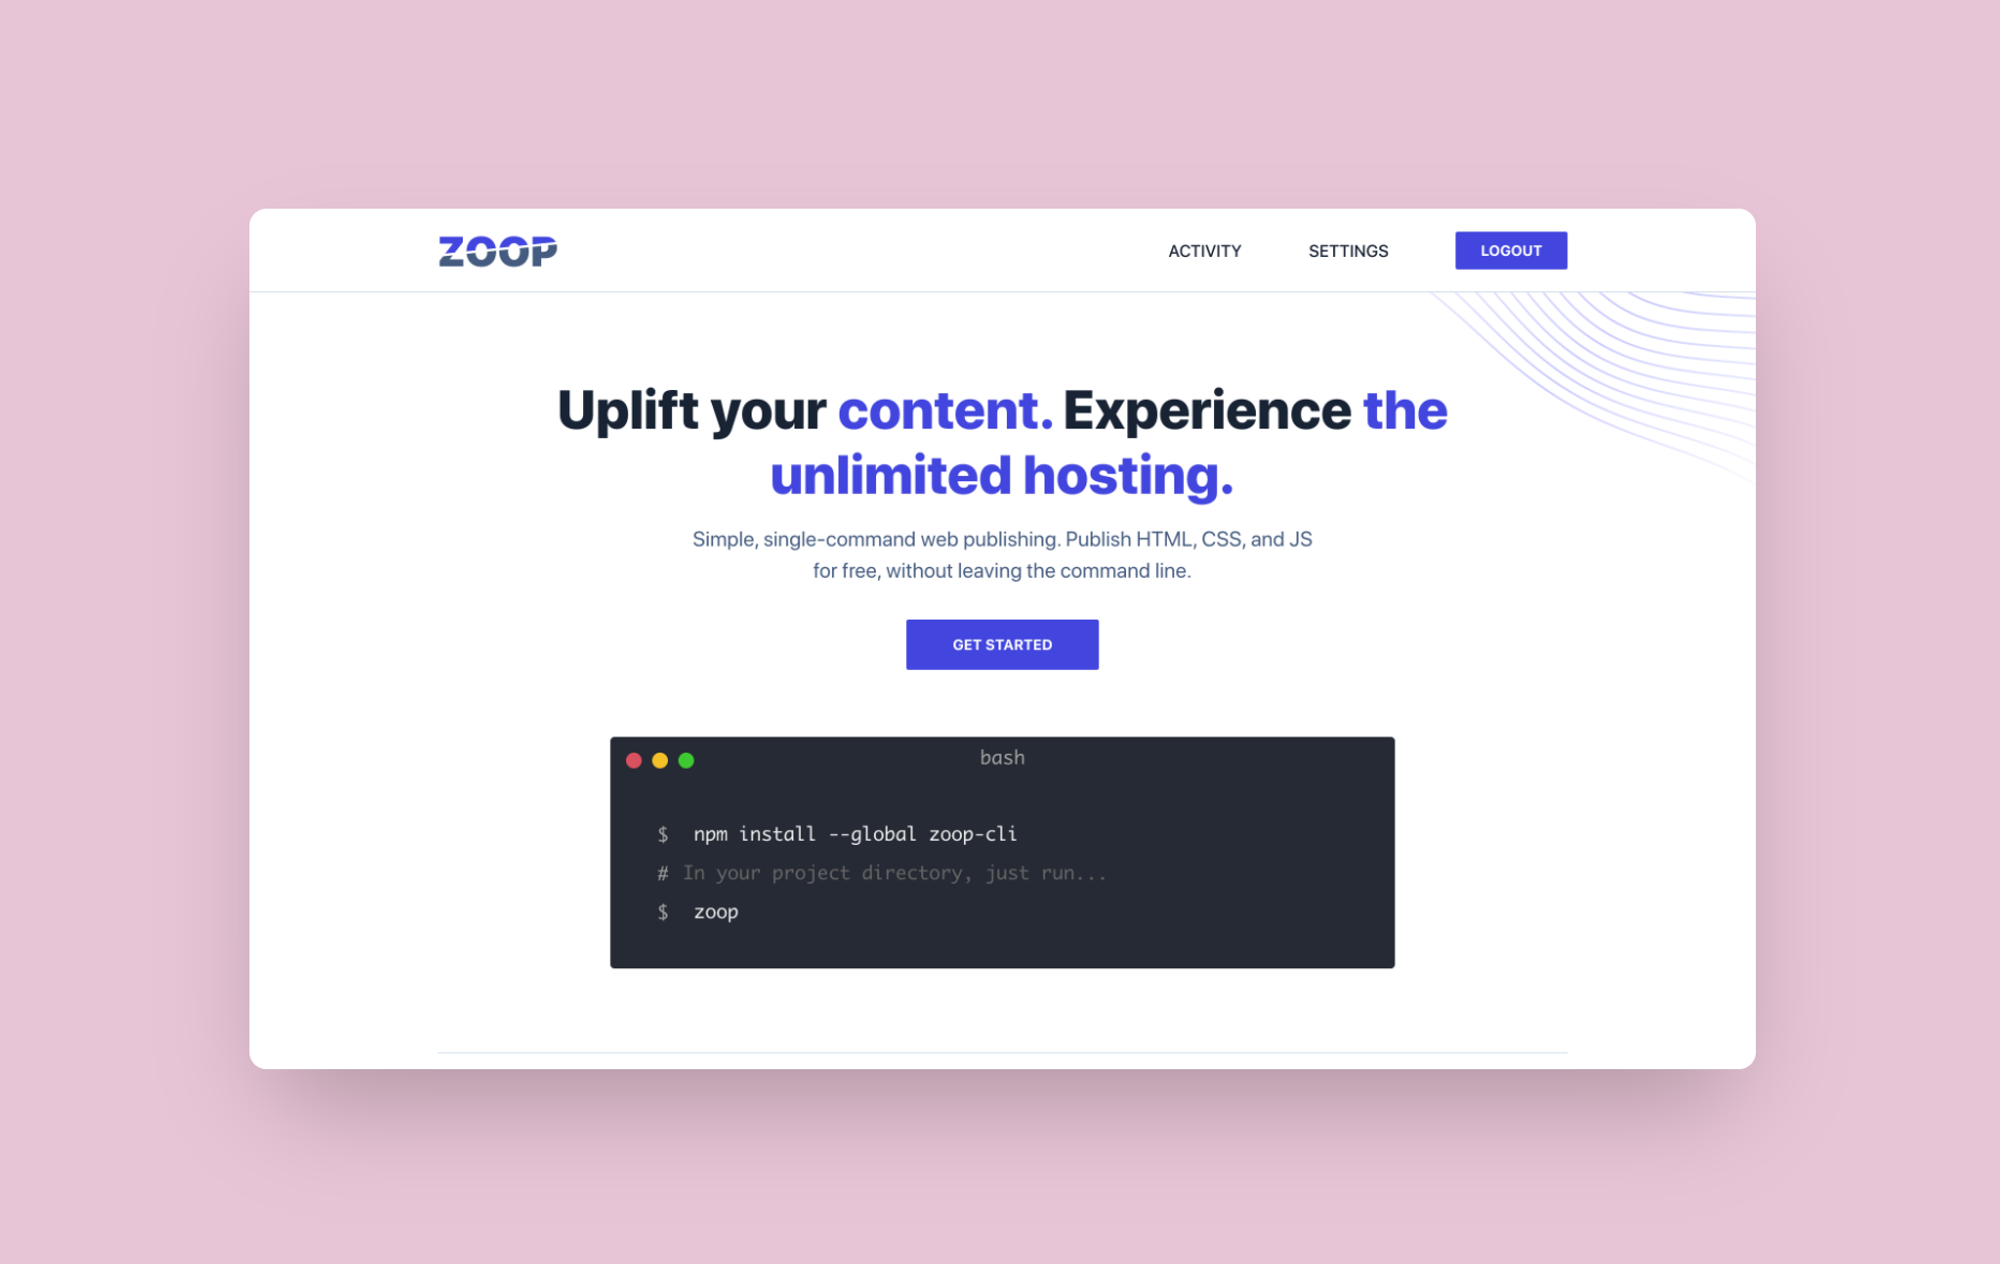
Install Zoop using npm by running the following command:
npm install --global zoop-cliDeploy
Once you have the static build of your website ready, run the following script from the website directory:
zoopBy default, Zoop will prompt you for a domain each time you deploy. To skip this, you can pass it into the CLI when you run the zoop command. For example, if your subdomain was panda.zoop.sh, you could run the following command:
zoop --domain panda.zoop.shSaving your domain to a CNAME file
You can also save your domain to a CNAME file so you don’t have to type it into the CLI either. Add a CNAME file (no extension) to the root of the project you’re deploying, and Zoop will use that automatically.
You can create a new CNAME file in your text editor of choice:
You may also do it directly from the CLI using the following command:
echo panda.zoop.sh > CNAMEreplacing panda.zoop.sh with your own domain or subdomain.
Tearing down a published project
Sometimes, you no longer want a project published to a particular domain or subdomain. To accomplish this, you can teardown a project through the Zoop CLI. This will effectively take the project offline.
To do this, run zoop teardown, specifying the domain you no longer want to use. For example, if your unwanted domain was panda.zoop.sh, you would run:
zoop teardown panda.zoop.shIf no domain is passed in, Zoop will check for a CNAME file to use. Otherwise, it will promt you the domain you would like to teardown.
Illustrations