On most social networks and messaging applications, an "Open Graph image" accompanies a link to a URL. It has been proven to drive engagement.
For a long time, I preferred using Playwright (Headless Chrome) to capture a screenshot of the HTML that I wanted to use as the Open Graph Image.
The setup was pretty straightforward. There is an endpoint that initializes the Headless Chrome, and there is a component that will render on the Headless Chrome.
import * as playwright from "playwright-aws-lambda";
import type { APIRoute } from 'astro';
export const prerender = false;
export const GET: APIRoute = async ({ params, request }) => {
const requestURL = new URL(request.url);

const browser = await playwright.launchChromium({ headless: true, ignoreDefaultArgs: ['--disable-extensions'] });

const page = await browser.newPage({
    viewport: {
        width: 1200,
        height: 630,
    },
});

const title = requestURL.searchParams.get('title');
const url = `${import.meta.env.CANONICAL_URL}/og?title=${title}`;
await page.goto(url, {
    timeout: 15 * 1000,
});
const data = await page.screenshot({
    type: "png",
});

await browser.close();
return new Response(data, {
    headers: {
        'content-type': 'image/png',
        'cache-control': 's-maxage=31536000, stale-while-revalidate'
    }
})---
import BaseLayout from "../layouts/BaseLayout.astro"
import Logo from "../assets/svgs/logo.svg"
import ProfileImage from "../components/base/profile-image.astro"
const title = Astro.url.searchParams.get("title")
export const prerender = false
---
<BaseLayout>
<div class='flex flex-col flex-1 px-12 py-8 justify-end relative'>
<ProfileImage size={120} />
<div class='text-5xl font-bold text-gray-900 mt-2'>{title}</div>
<div class='text-4xl text-gray-500'>baggins.me</div>
<img
src={Logo.src}
style={{ opacity: 0.05 }}
class='absolute right-0 top-0 max-w-2xl transform translate-x-32 -translate-y-16'
/>
</div>
</BaseLayout>If you call the endpoint /api/og.ts, it will generate a screenshot of the component that can be used as the og:image.
There are two challenges with this approach:
- You need a hosted URL of the page you want to take a screenshot of.
- There isn't much flexibility available in terms of how you can send data to your component. In fact, the only available ways are to send it as either queryParams or pathParams.
Due to these limitations, it becomes harder to send a lot of information. For example, if you want to send the entire object of the blog post, you can't do that.
The solution to this would require an approach where you can render the component locally by passing the entire component to whatever renderer you are going to use.
Dynamic OG Image
Generating a dynamic OG image for each post allows the author to avoid specifying an OG image for every single blog post. Besides, this will prevent the fallback OG image from being identical to all blog posts.
Fortunately, that's exactly what Satori allows us to do. The wonderful thing about Satori is that it supports JSX syntax, which makes it very straightforward to use. Under the hood, it handles layout calculation, fonts, typography, and more to generate an SVG that matches the exact HTML and CSS in a browser.
Now, let's see how using Satori changes the game for us.
But before you start, you need to install the following modules:
npm i satori @resvg/resvg-js
- Satori will convert HTML to an SVG.
- Resvg will convert this SVG to a PNG.
Satori requires a font in order to render text in the SVG. Currently, it only supports TTF, OTF and WOFF files – but remember, we’re not sending these files to the user, just using them on the server to generate the image. So filesize shouldn’t be a concern.
In this example, I’m using Inter; .
Create this new file in your Astro application:
import {Resvg} from '@resvg/resvg-js'
import type {SatoriOptions} from 'satori'
import satori from 'satori'

import { OG_IMAGE_HEIGHT, OG_IMAGE_WIDTH } from '~/routes/resource/og'

// Load the font from the "public" directory
const fontSans = (baseUrl: string) =>
  fetch(new URL(`${baseUrl}/fonts/Inter-ExtraBold.otf`)).then((res) =>
    res.arrayBuffer()
  )

export async function createOGImage(title: string, requestUrl: string) {
  const fontSansData = await fontSans(requestUrl)
  const options: SatoriOptions = {
    width: OG_IMAGE_WIDTH,
    height: OG_IMAGE_HEIGHT,
    fonts: [
      {
        name: 'Inter',
        data: fontSansData,
        style: 'normal',
      },
    ],
  }

  // Design the image and generate an SVG with "satori"
  const svg = await satori(
    <div
      style={{
        width: options.width,
        height: options.height,
        background: 'linear-gradient( 135deg, #FD6585 10%, #0D25B9 100%)',
        color: 'white',
        fontFamily: 'Inter',
        fontSize: 100,
        display: 'flex',
        alignItems: 'center',
        justifyContent: 'center'
      }}
    >
      <div>{title}</div>
    </div>,
    options
  )

  // Convert the SVG to PNG with "resvg"
  const resvg = new Resvg(svg)
  const pngData = resvg.render()
  return pngData.asPng()
}
Create a Resource route
In Astro, a resource route lets you create custom endpoints to serve any kind of data. You can use this to generate images, expose an RSS document, or use them as API Routes to build a full API for your site.
This routes' only task is to receive a request, and respond with a PNG image.
export const GET: APIRoute = async ({ request }) => {
const { origin, searchParams } = new URL(request.url)
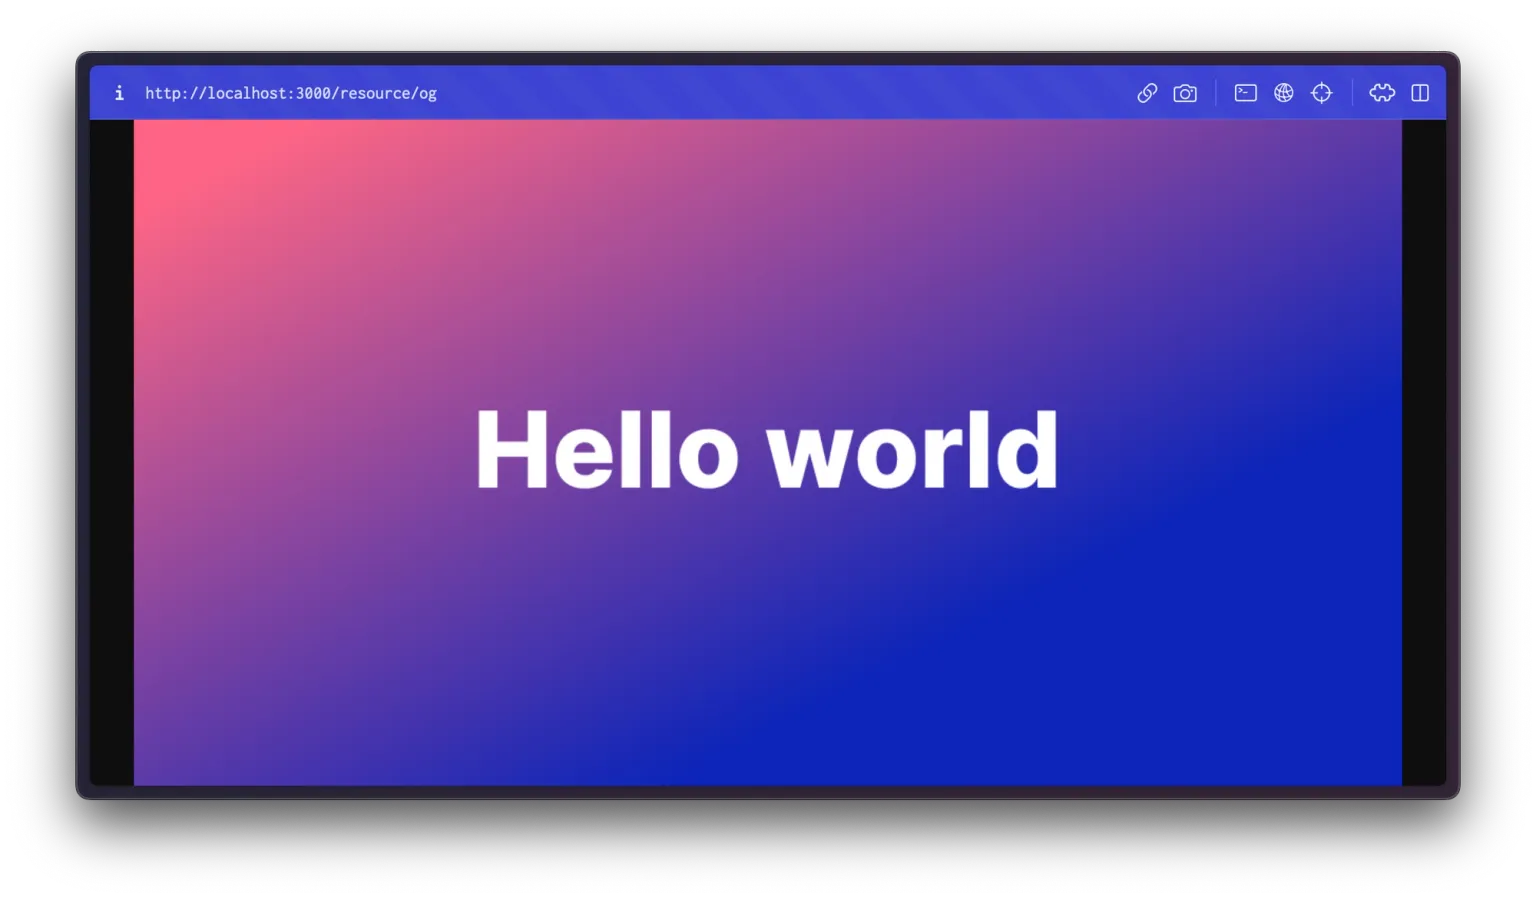
const title = searchParams.get('title') ?? `Hello world`
const png = await createOGImage(title, origin)
// Respond with the PNG buffer
return new Response(png, {
status: 200,
headers: {
// Tell the browser the response is an image
'content-type': 'image/png',
'cache-control': 's-maxage=31536000, stale-while-revalidate'
// Tip: You might want to heavily cache the response in production
// 'cache-control': 'public, immutable, no-transform, max-age=31536000',
},
})
}On your Astro app, visit /resource/og and see a 1200x630px image with “Hello world” in the centre.
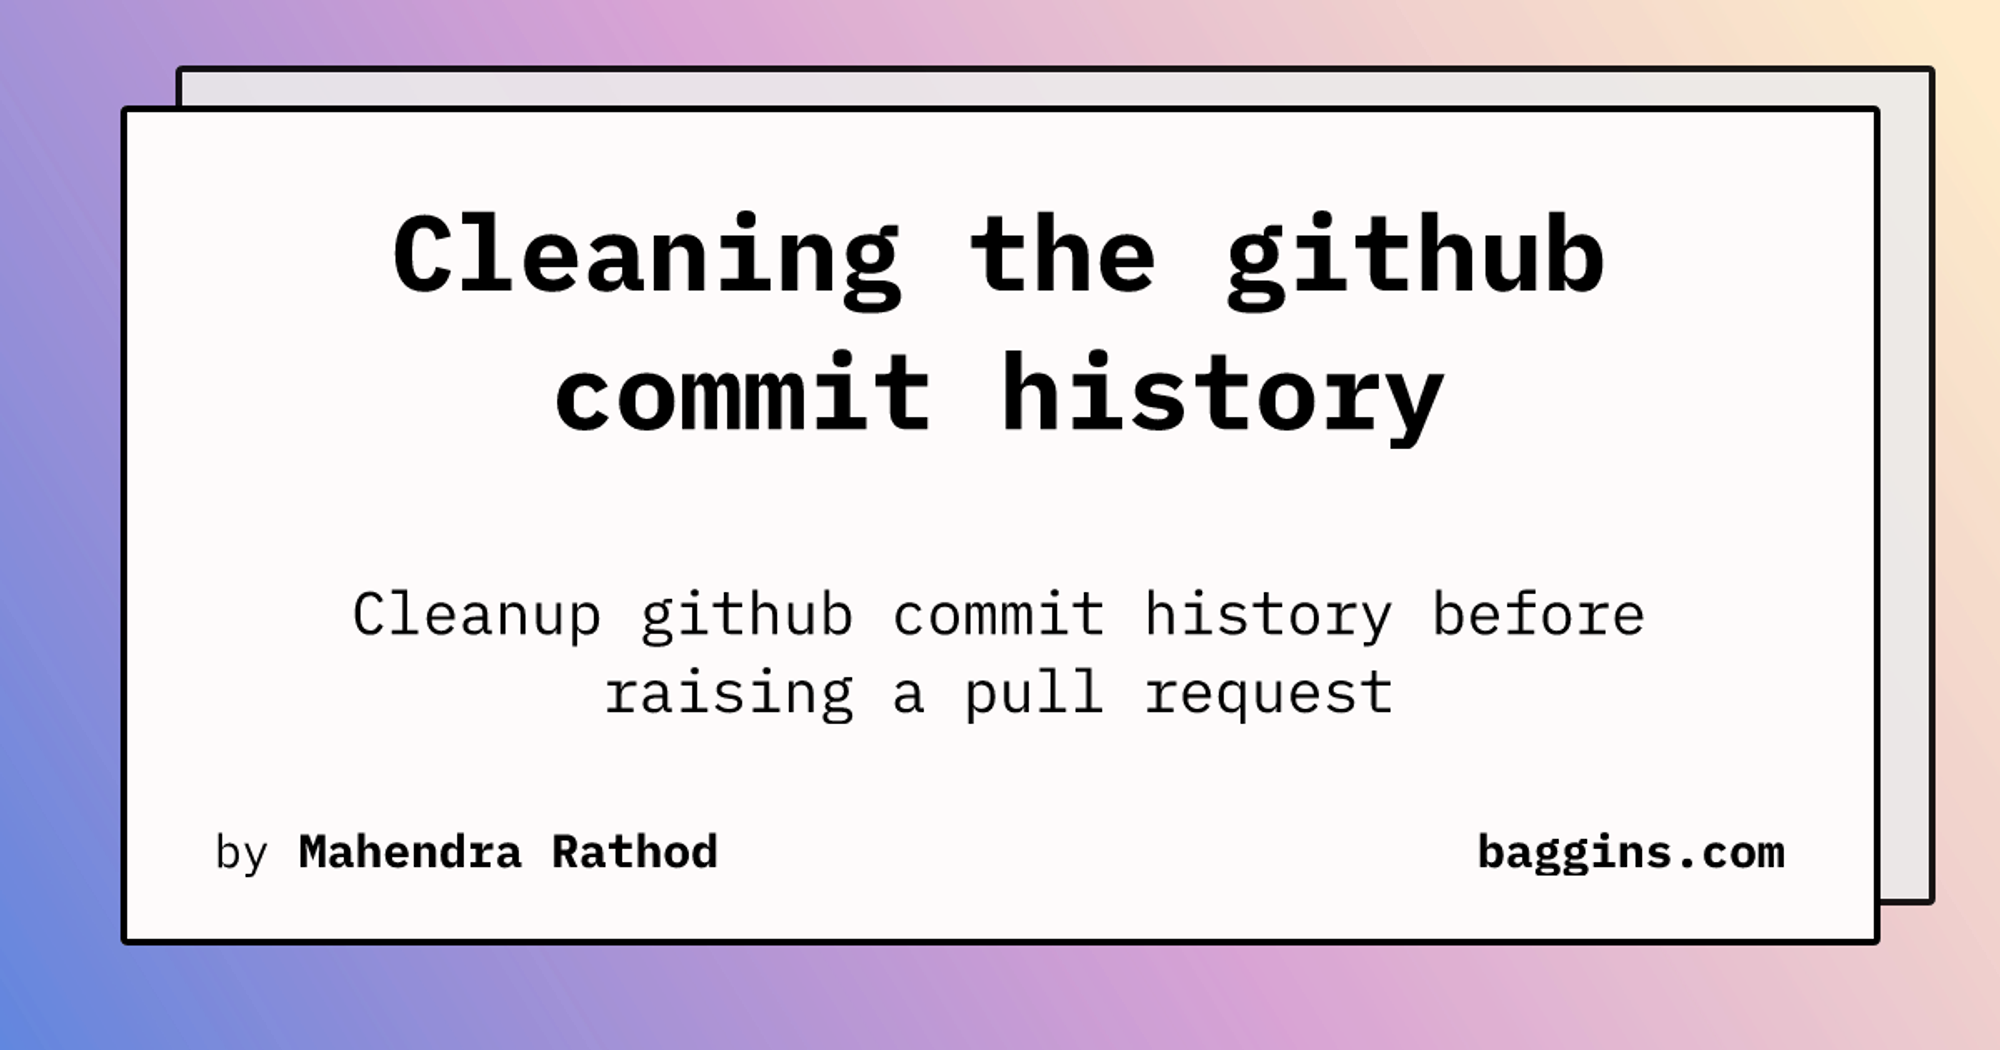
Anatomy of dynamic OG image in Astro for Baggins.me
Dynamic OG image of baggins.me (Personal Blog platform) includes the blog post title, author name and site title. Author name and site title will be retrieved via config.author and config.website from the config file. The title & the preview is generated from the blog post content title & preview.
Let’s see how we did this with the use of Astro SSG and staticPaths.
import type { APIRoute } from 'astro';
import { getBlogTable } from "../../../core/blog";
import { config } from "../../../config";
import type { Post } from "../../../types/blog";

export const prerender = true;

const fetchFonts = async () => {
  // Regular Font
  const fontFileRegular = await fetch(
    "https://www.1001fonts.com/download/font/ibm-plex-mono.regular.ttf"
  );
  const fontRegular: ArrayBuffer = await fontFileRegular.arrayBuffer();

  // Bold Font
  const fontFileBold = await fetch(
    "https://www.1001fonts.com/download/font/ibm-plex-mono.bold.ttf"
  );
  const fontBold: ArrayBuffer = await fontFileBold.arrayBuffer();

  return { fontRegular, fontBold };
};

const { fontRegular, fontBold } = await fetchFonts();

const options: SatoriOptions = {
  width: 1200,
  height: 630,
  embedFont: true,
  fonts: [
    {
      name: "IBM Plex Mono",
      data: fontRegular,
      weight: 400,
      style: "normal",
    },
    {
      name: "IBM Plex Mono",
      data: fontBold,
      weight: 600,
      style: "normal",
    },
  ],
};

export const getStaticPaths = async () => {
  const table = await getBlogTable<Post>(config.notionBlogTableId)
  return table
    .filter(
      (row) => import.meta.env.NODE_ENV === "development" || row.published
    )
    .map((row) => {
      return {
        params: {
          slug: `${row.slug}`,
        },
        props: {
          post: row,
        },
      }
    })
    .filter(Boolean)
}

export const GET: APIRoute = async ({ props }) => {
  const svg = await satori(
    <div
      style={{
        backgroundImage: "linear-gradient( 58.2deg,  rgba(40,91,212,0.73) -3%, rgba(171,53,163,0.45) 49.3%, rgba(255,204,112,0.37) 97.7% )",
        width: "100%",
        height: "100%",
        display: "flex",
        alignItems: "center",
        justifyContent: "center",
      }}
    >
      <div
        style={{
          position: "absolute",
          top: "-1px",
          right: "-1px",
          border: "4px solid #000",
          background: "#ecebeb",
          opacity: "0.9",
          borderRadius: "4px",
          display: "flex",
          justifyContent: "center",
          margin: "2.5rem",
          width: "88%",
          height: "80%",
        }}
      />

      <div
        style={{
          border: "4px solid #000",
          background: "#fefbfb",
          borderRadius: "4px",
          display: "flex",
          justifyContent: "center",
          margin: "2rem",
          width: "88%",
          height: "80%",
        }}
      >
        <div
          style={{
            display: "flex",
            flexDirection: "column",
            justifyContent: "space-between",
            margin: "20px",
            width: "90%",
            height: "90%",
          }}
        >
          <p
            style={{
              fontSize: 64,
              fontWeight: "bold",
              maxHeight: "84%",
              overflow: "hidden",
              alignItems: "center",
              justifyContent: "center",
              textAlign: "center",
            }}
          >
            {props.post.title}
          </p>
          <p
            style={{
              fontSize: 36,
              maxHeight: "84%",
              overflow: "hidden",
              alignItems: "center",
              justifyContent: "center",
              textAlign: "center",
            }}>
            {props.post.preview}
          </p>
          <div
            style={{
              display: "flex",
              justifyContent: "space-between",
              width: "100%",
              marginBottom: "8px",
              fontSize: 28,
            }}
          >
            <span>
              by{" "}
              <span
                style={{
                  color: "transparent",
                }}
              >
                "
              </span>
              <span style={{ overflow: "hidden", fontWeight: "bold" }}>
                {config.author}
              </span>
            </span>

            <span style={{ overflow: "hidden", fontWeight: "bold" }}>
              {new URL(config.website).hostname}
            </span>
          </div>
        </div>
      </div>
    </div>,
    options
  )
	const resvg = new Resvg(svg);
  const pngData = resvg.render();
 return new Response(pngData.asPng(), {
    headers: {
      'content-type': 'image/png',
      'cache-control': 's-maxage=31536000, stale-while-revalidate'
    }
  });
}
With the help of Astro SSG, we can easily pre-render or pre-generate the og:images during the build process. This is even better than the approach with Playwright, where the images were generated on the fly. Remember, if you are generating og:images on the fly, then you are essentially using SSR (Server-Side Rendering).
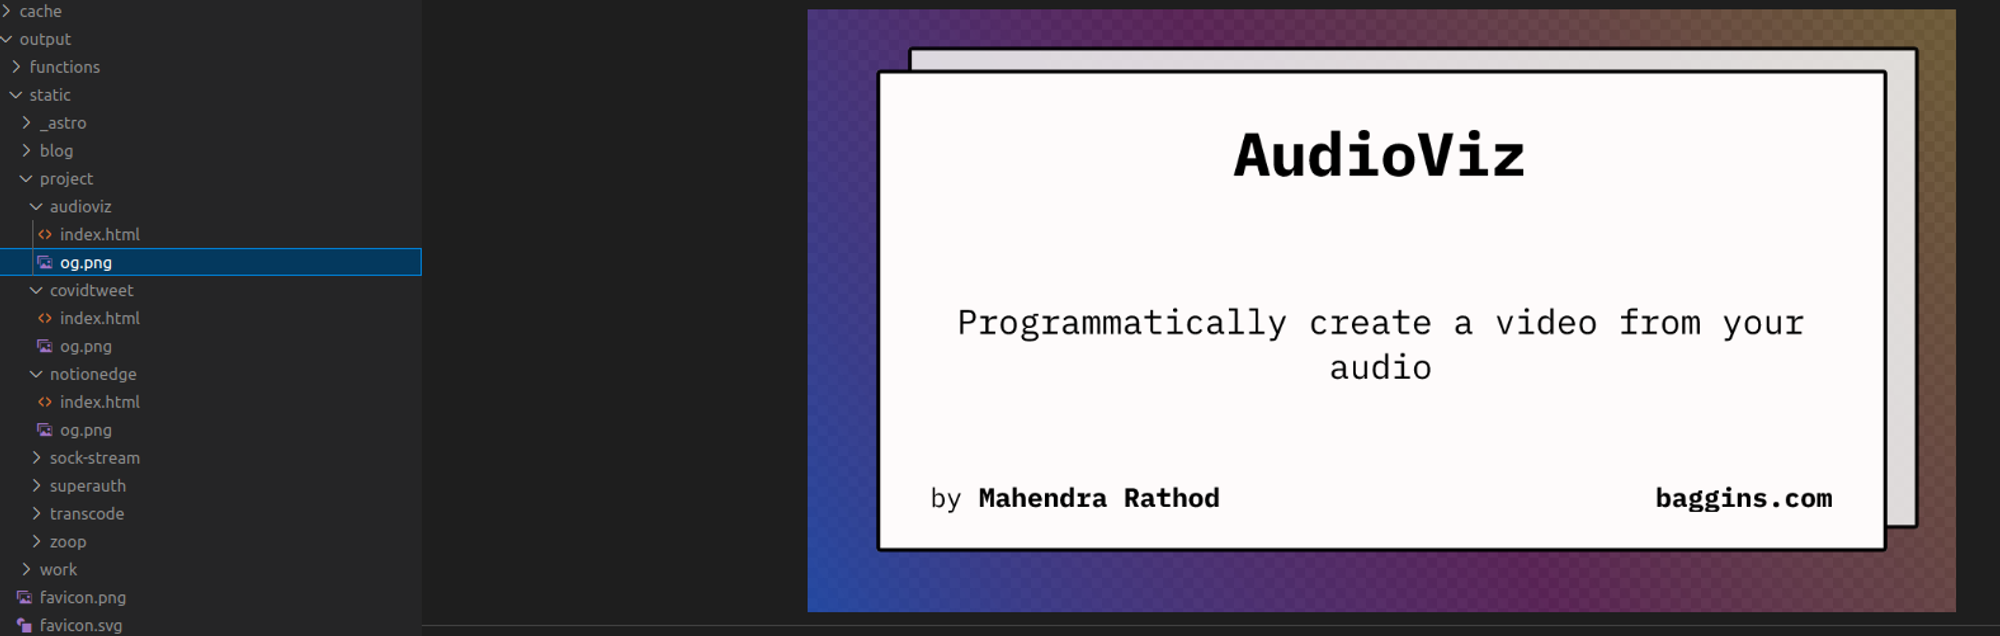
Here's a link to the image generated for this post.